Ben Crowe (of Crimson guitars) has a pretty good tutorial of this process on Youtube to follow through.... if you want to watch something extremely masochistic, there's a video of a True Temperament fret installation here *shudders*
Here's the tools I'll use:

First off, we need to ensure that the neck is exactly straight, and make small adjustments to the truss rod if not. This neck has a double action truss rod, so can be made to flex in both directions. Unbelievably, though, it was exactly straight without any adjustment needed. Proof:

And close up, in the middle of the neck:

Now I put a 45 degree bevel on the edge of the frets using my angled file, taking great care not to take too much off or allow the file to touch the lacquered rosewood on the side of the neck.

Next up, the fingerboard is masked off... this takes a surprisingly long time.

To this:

Now, we know that the fingerboard is straight, but the frets are likely all slightly different heights - some having been hammered in more / less during their installation. We are going to run a long file along the length of the fretboard, until we know that all the frets are the same height.
I begin by colouring in the frets with a Sharpie:

Then start to run my file up the neck. I make a single pass along the whole length of the neck, moving along the frets from right to left. This way all the frets get filed the same amount so their radius is retained:

After a few passes with the file, high and low spots can be seen. Here for example, the Sharpie has not yet been filed off the bottom edge of the fifth fret from the right, so the file has not touched it yet. That is a low spot, and all the others must be filed down to meet it.
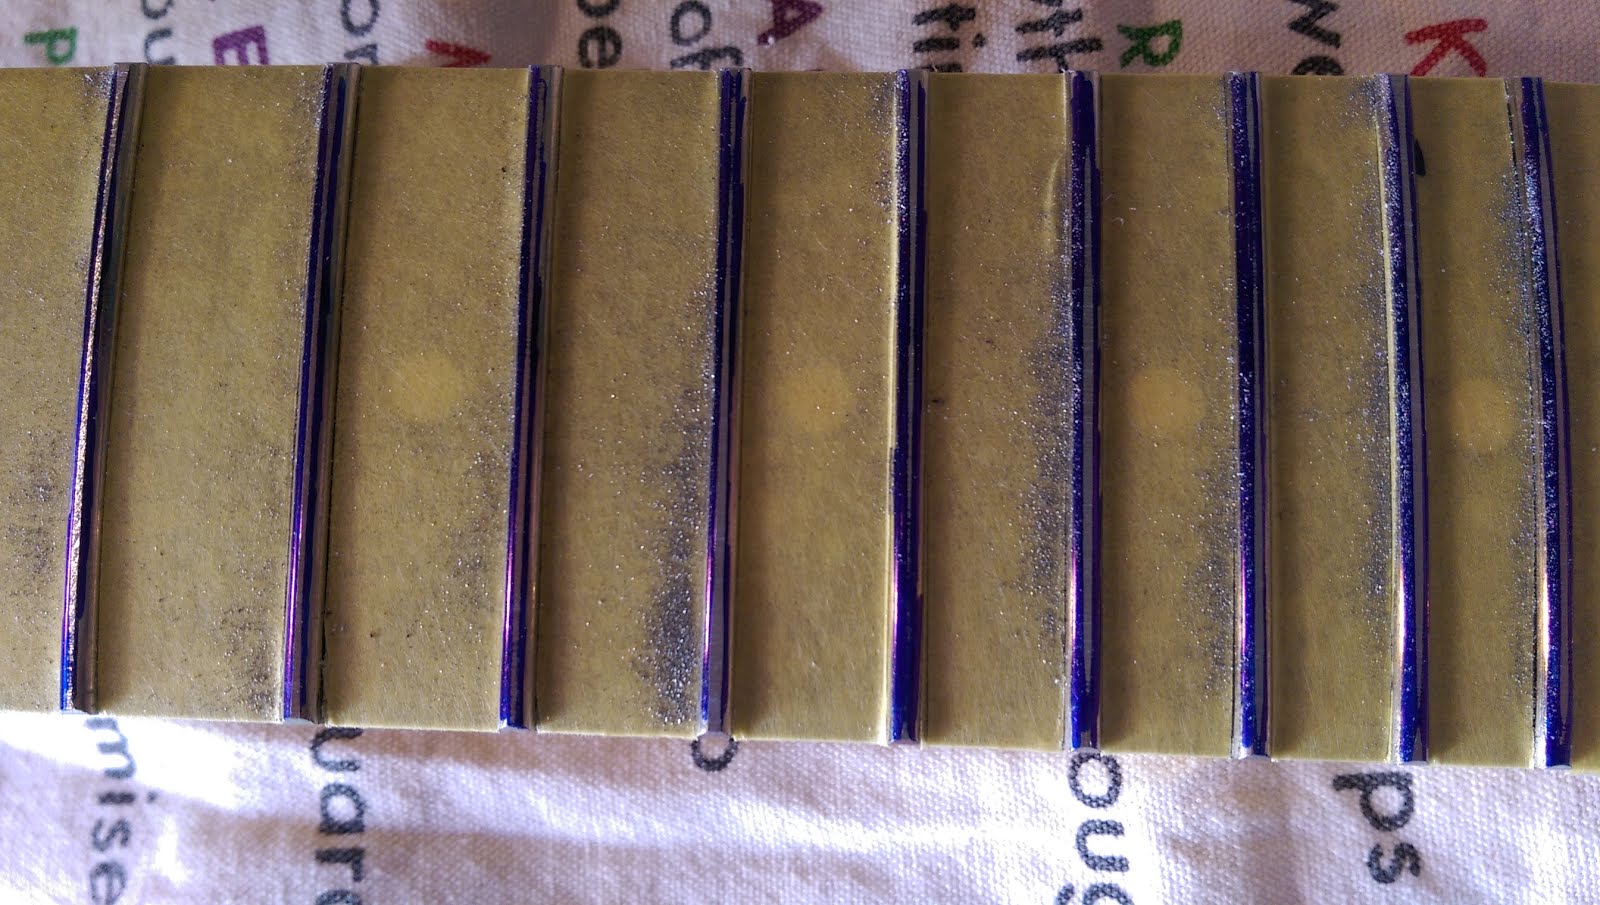
Eventually, all the frets will have a blue line having been filed off to some degree:

This means that they've all been touched by the file. Given that we know the fingerboard is straight, and the file is straight, if they've all been touched we can be confident that the top of the frets are all now 'straight'.
Next up, we use a fret rocker. This is placed across three frets at a time, along the width of the fret and 'rocked'. You can feel if the centre fret is higher than its neighbours as it wiggles a little, indicating that some work is required on that centre fret:

And at the nut end:

Prior to the fret rocking check, we knew that the frets we all level across their tops - i.e. that a line joining the very tops of the frets to each other would be straight. Once the fret rocker check also passes, we know that all the frets are the exact same height as their neighbour, so we know that that line must be parallel to the fingerboard.
Eventually, I end up with my frets all exactly level to each other, along the length of my fingerboard.

You can see that some of these frets have been filed more than the others, so have a much larger flat surface on the top. The next job will be to recrown each of them - filing a uniform 'domed' shape back into them all. Then they will be polished to a high shine.
No comments:
Post a Comment