
The blue veneer adds a little thickness to the tenon, making the joint tighter. I trimmed and sanded it back flush:

And marked the tenon with chalk. This way, once the tenon is inserted into the neck pocket, you can see which parts touch, as it rubs the chalk away slightly:

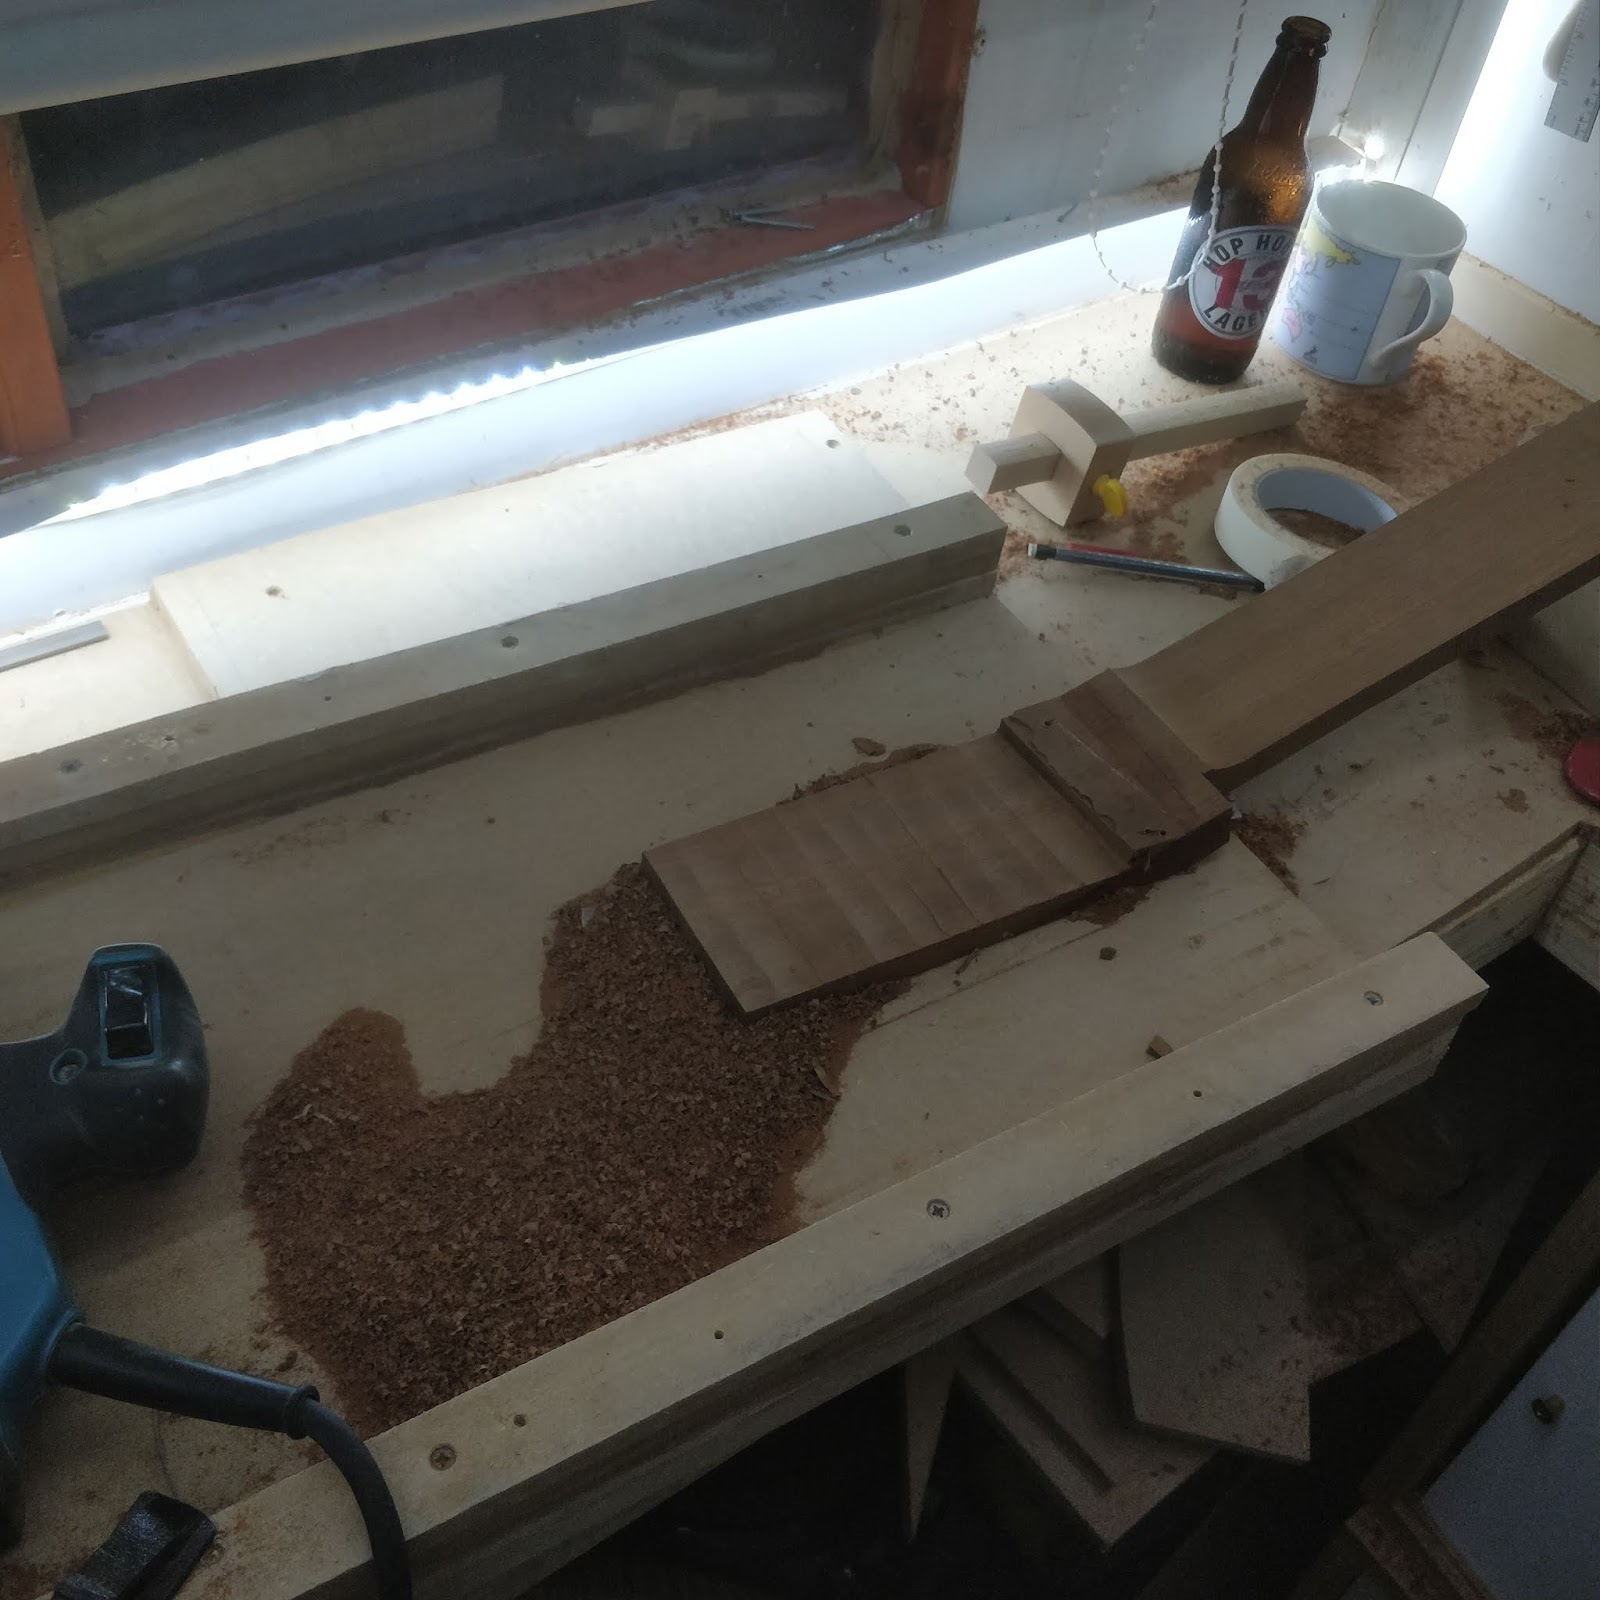
Not sure if you can see this, but the picture below shows the tenon after the joint was put together. You can see (possibly) the lines in the chalk where the joint got stuck, so which part needs a bit of sanding away.

Eventually, the joint becomes tight. It now requires a little pressure to put it together.

Close up there's still a little gap on the side. The neck is still oversize, having not been bought down to its final width. I'll address this gap once that's done:

There's an internet myth that the joint needs to be so tight that it needs hammering or clamping together. If it's that tight, it will squeeze all the glue out as it's bought together. In addition, once glue is put on the woods, they'll expand slightly which will make a joint that's already very tight even more difficult to put together. If the joint is tight enough to support its own weight - that's good enough:

I break out the Frickin' Laser Beam to check the alignment of the neck:

With the beam set up along the centre line of the body:

It pretty much exactly hits the centre line at the nut:

This is the end of the neck pocket / tenon work. The neck is straight on the body and at the correct neck angle. While there's a lot of work left on the neck, there's relatively little left that's all that intimidating or risky to do.
The next job is to get the headstock thickness sorted out. The final thickness needs to be 15mm, including a veneer of about 1mm. I mark the 14mm thickness of the mahogany needed:

And glue it down to the bed of a router sledge.

I'll make lots of little passes (the first is shown in the picture) until the final thickness is achieved:

Finally, the desired thickness - with a bulk of material left behind the nut where the volute will be carve from:
I make a little paper template with the shape of the volute in it. I'll use this as a visual aid on the robo sander:

And gently free hand the robo sander to get down to the required shape:

Until:

The headstock in that picture still looks really thick! It's much thinner, just the picture was taken at an angle...
I'm not sure what the next job will be, though we're getting close to the point where we need to start thinking about putting a radius on the fretboard. As usual, I'll try and put that off as long as possible, as it's the absolute worst job in the whole of guitar building.
No comments:
Post a Comment